Showing posts with label DIY. Show all posts

Saturday, April 27, 2013

Fence Project Done - What a difference!

Please visit and like my new facebook page Georgia Home Garden.

The fence project is done and I am so glad I decided to expand our back yard into the side yard.  My back yard feels huge now, and my mind is running wild with new projects I can do.  Me and the oldest daughter have already been playing baseball, and I have some ideas on adding some more garden areas in the future.
I have taken a lot of pictures, but here are some good ones.

View of the back fence wall.  This section had to face me due to a neighbors existing fence.


The old fence came off the corner of my house and followed that orange dirt.  I used the dirt they dug up for the posts and filled in a huge low spot.  The new fence comes off the house 20 feet, and this is a view of the additional backyard space.


Nice picture showing fence detail.


I had a small walk through gate added so I can get to my garden from the back yard.  Notice the 6x6 post used for hinge side of gate.


View from the garden.


Great view from the street looking toward my house, I can't wait for the Nuttall Oaks I planted last fall to grow and fill in this area.


This is the section of fence that is double sided.  Notice how straight the pickets are and you can't even see that there are pickets on both sides.  This fence installer used string lines for everything, and he used a level on every picket for this double sided section.  A true craftsman.


Standing in old "side yard" which is now back yard.


View from driveway looking toward side yard.  The distance from the new fence and street is 22 feet, which is still plenty of room so the fence is not too obtrusive.


I added some landscaping between the new fence and the driveway to dress up this area.  More on that in another post.


View from driveway toward main gate.

Fence Project Update - End of Day 2

Please visit and like my new facebook page Georgia Home Garden.

At the end of day two, and the fence is starting to take shape.  They have finished setting posts and are putting up most of the side rails.

View from garden, I like the fact that they are using three side rails: top, bottom, and middle.  I have seen fences where the installer only uses a top and bottom rail.


One section of the fence includes rails on both sides.  I am installing the fence the "proper way" by putting the good side toward the street and my neighbors view.  On the back section of the fence, the installer could not do the good side facing neighbor because they have a fence there already. So that section will have the good side towards me.  I didn't want my neighbor to have the posts facing their view, so I did what was right and paid extra to have rails and boards installed on both sides of the posts.  It cost me an extra 300 dollars to do that, but I think it is worth it to do it right.


You can see the neighbor's fence in the background and how my fence extends past that.  It is that extension that is double sided.


Another view.


View from my driveway, they should start putting the pickets up tomorrow.


Wednesday, April 24, 2013

Fence Project Update - End of Day 1

Please visit and like my new facebook page Georgia Home Garden.

The fence project is off to a great start.  So far I am really pleased with the quality of work being done by this company.  I have been taking a lot of pictures and here are the highlights from day one.

The first step was they measured off approximately where each post would go based on the string line I had set for them.  They dropped a post and a bag of concrete at each mark.


Another view from the driveway, gorgeous Spring day.


Now the fun part, they started digging each hole by hand.


Each hole was approximately 2 feet deep.


After they had an entire set of holes dug, they dropped in the posts.


They started by plumbing each corner post first, and then tied a string to each corner post.  This string line was used to plumb the additional line posts in a perfect line.


How do I know it is a perfect line?  Because it looks like one post from this angle straight on.


I stepped to the side and snapped a picture and you could see all the posts on this side have been set.


Another angle looking toward the driveway, next step, putting up rails.


Tuesday, April 23, 2013

Fence Project - Day 1

Please visit and like my new facebook page Georgia Home Garden.

I have been waiting for this day ever since we bought our new house last August.  The new house is on a nice sized corner lot and the backyard was fenced in.  As soon as I looked at our house I had this vision of expanding the fence out into my side yard to capture more space in my backyard.

There were a few issues with the existing fence, it was crooked as can be, it was leaning all over, and had a  wobbly feeling to it.  Yes, those are all technical fence terms.  Not to mention the off white vinyl just stood out too much next to our house.

So I started last fall getting fence quotes from all the "name brand" local fence companies in my town.  I don't mean any disrespect, but most of them sounded like used cars salesmen.  I found that it was going to cost more money to add an extension to the existing fence and have them correct the issue, than to just replace the whole thing and start over.

So fast forward to this Spring, and I got a flyer in the mail from a local handyman business.  They specialized in fences, concrete, and decks.  I normally throw these things right in the trash, but this one looked nice.  They had a website and the guy was really friendly when I called them.  After many back and forth communications and questions I decided to give this guy a shot.

Before he could get started, I had to take the existing fence down and figure out what to do with it.  I decided to post it on Craigslist and believe it or not I had someone buy it.  Taking the 250 feet of vinyl fence down took about four nights of solid work after getting home from my job.  Luckily not one of the posts were set in concrete so pulling it down was pretty easy. Gee, now I know why it was crooked and wobbly.

So, with all that, the fence contractor is here today and I decided it was time to blog about it.

Here is a shot of the existing fence from Google Maps
Looks pretty good from space, it was junk.


Side yard where new fence will extend off house.


Another pic of side yard


Opposite view of side yard toward driveway


Side yard looking toward shed


Opposite side looking toward street


View from neighbors looking down on my house


View toward garden


The new fence will have a gate for access to my garden.


Tuesday, January 15, 2013

Moving the Georgia Home Garden - Part 2

Please visit and like my new facebook page Georgia Home Garden.

In part 1, I posted about the prep work involved at my new house before I could move my garden.  In this post I detail the finished project.  Garden fever is starting to kick in.

Here is a pic of the old garden at Georgia Home Garden 1.0, I always get nostalgic whenever I visit the old homestead and this was no exception.  The garden looked pretty rough.  The plan was to pry up the frames on each of the beds and haul them to the new house.


Here is a close up after removing one frame, it only took five minutes to pry them up.


After I removed the frames, I decided to rake the soil to loosen the straight edges.  This area can still be used to garden and I am leaving the soil.  I considered hauling the soil to my new house since it is so rich, but I decided that is too much work.  I will start fresh at the new house.


Yes I am from Georgia, and yes I have some red neck in me.  I didn't have anything to tie down the bed frames so I just piled all six in my truck and drove really really slow.  I took back roads and nothing fell out. 


Here is the new spot for the three 4x8 beds.  The plan is to put them right outside the shaded area.


Here they are, all done and ready for some fresh dirt.  There was an unbelievable amount of work in prepping this area to get to this point, but I am looking forward to spending many hours here.


Another angle, they are placed right below the slope where the ground is a little more level.


Saturday, January 12, 2013

Moving the Georgia Home Garden - Part 1

Please visit and like my new facebook page Georgia Home Garden.

I have started the process of moving my raised beds from Georgia Home Garden 1.0 to the new house.  The old house hasn't sold and I was going to leave the beds there, but those jokers are coming with me now that the house hasn't sold.  I am working on the first garden area at the new house, a North Facing side yard.  This side yard is dead space and had drainage issues when we bought the house, but I think I can get some use out of it. 

So here it is before I started and a complete mess, full of weeds and mushy ground.


You can see the stains on the bottom of the brick, there were no gutters on this side of the house. I had them installed shortly after we moved in.


Part of the problem with the drainage was the ground was sloped toward the house and was full of pits and high spots.


Here is the view from my neighbors yard looking down at my house, you can see how the ground slopes.


I pulled the weeds, brought in 5 yards of fill dirt that was shoveled by hand and wheel barrow. (I am getting a real strong upper back, this brings my tally to 11 yards of material hand shoveled so far.)


View from neighbors house


I started on the house side and graded it away from the house to a low spot.  I then went from the hill side and kept the natural slope but just filled it in to make a nice smooth surface.


I set a string line that was an equal distance from the house and made everything grade toward the string line and then toward my front yard.  The goal was to create a slight gulley for the water to naturally flow toward.  We got a few good rains after this pic was taken and it worked well. The ground is pretty mushy now, but that is only because the dirt is fresh and needs to settle.


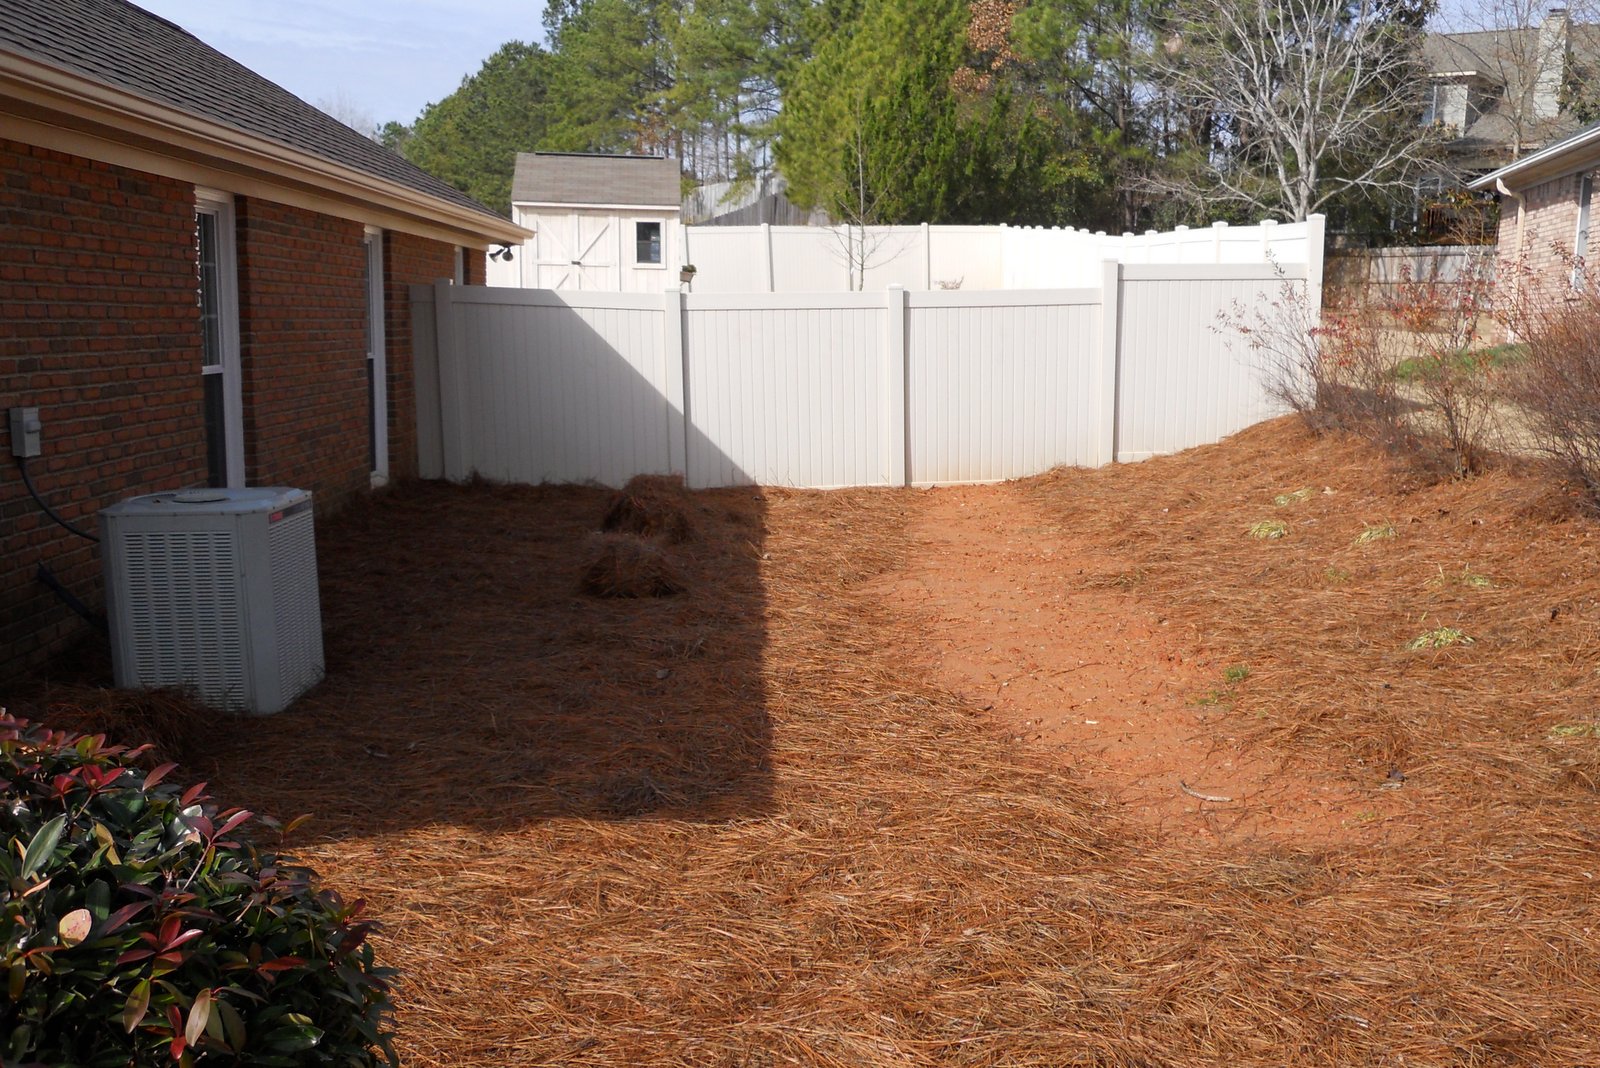
I laid pine straw to keep the weeds at bay and left an area open to place the raised beds.


Another angle from neighbors (I get weird looks from them, wondering what I am up to haha.)


Ok, now the most important part.  Placement of the beds was going to be crucial in this North facing garden.  The house shades this area, but the amount of shade depends on the time of day and more importantly the time of year.  I did a lot of reading on that and decided to take a picture of the area at noon on December 21st, which is the Winter solstice.  That is the time of the year when the sun is the lowest in the sky and the shade would be the worst.  If I placed my beds outside this shade range on that day, then they should receive plenty of sunlight because the shade would only get better after that date.  That is it for part 1, everything is ready to go now.